
Category: Faucets & Toilets
How to Use a Plunger Like a Pro: The Ultimate Drain-Clearing Guide
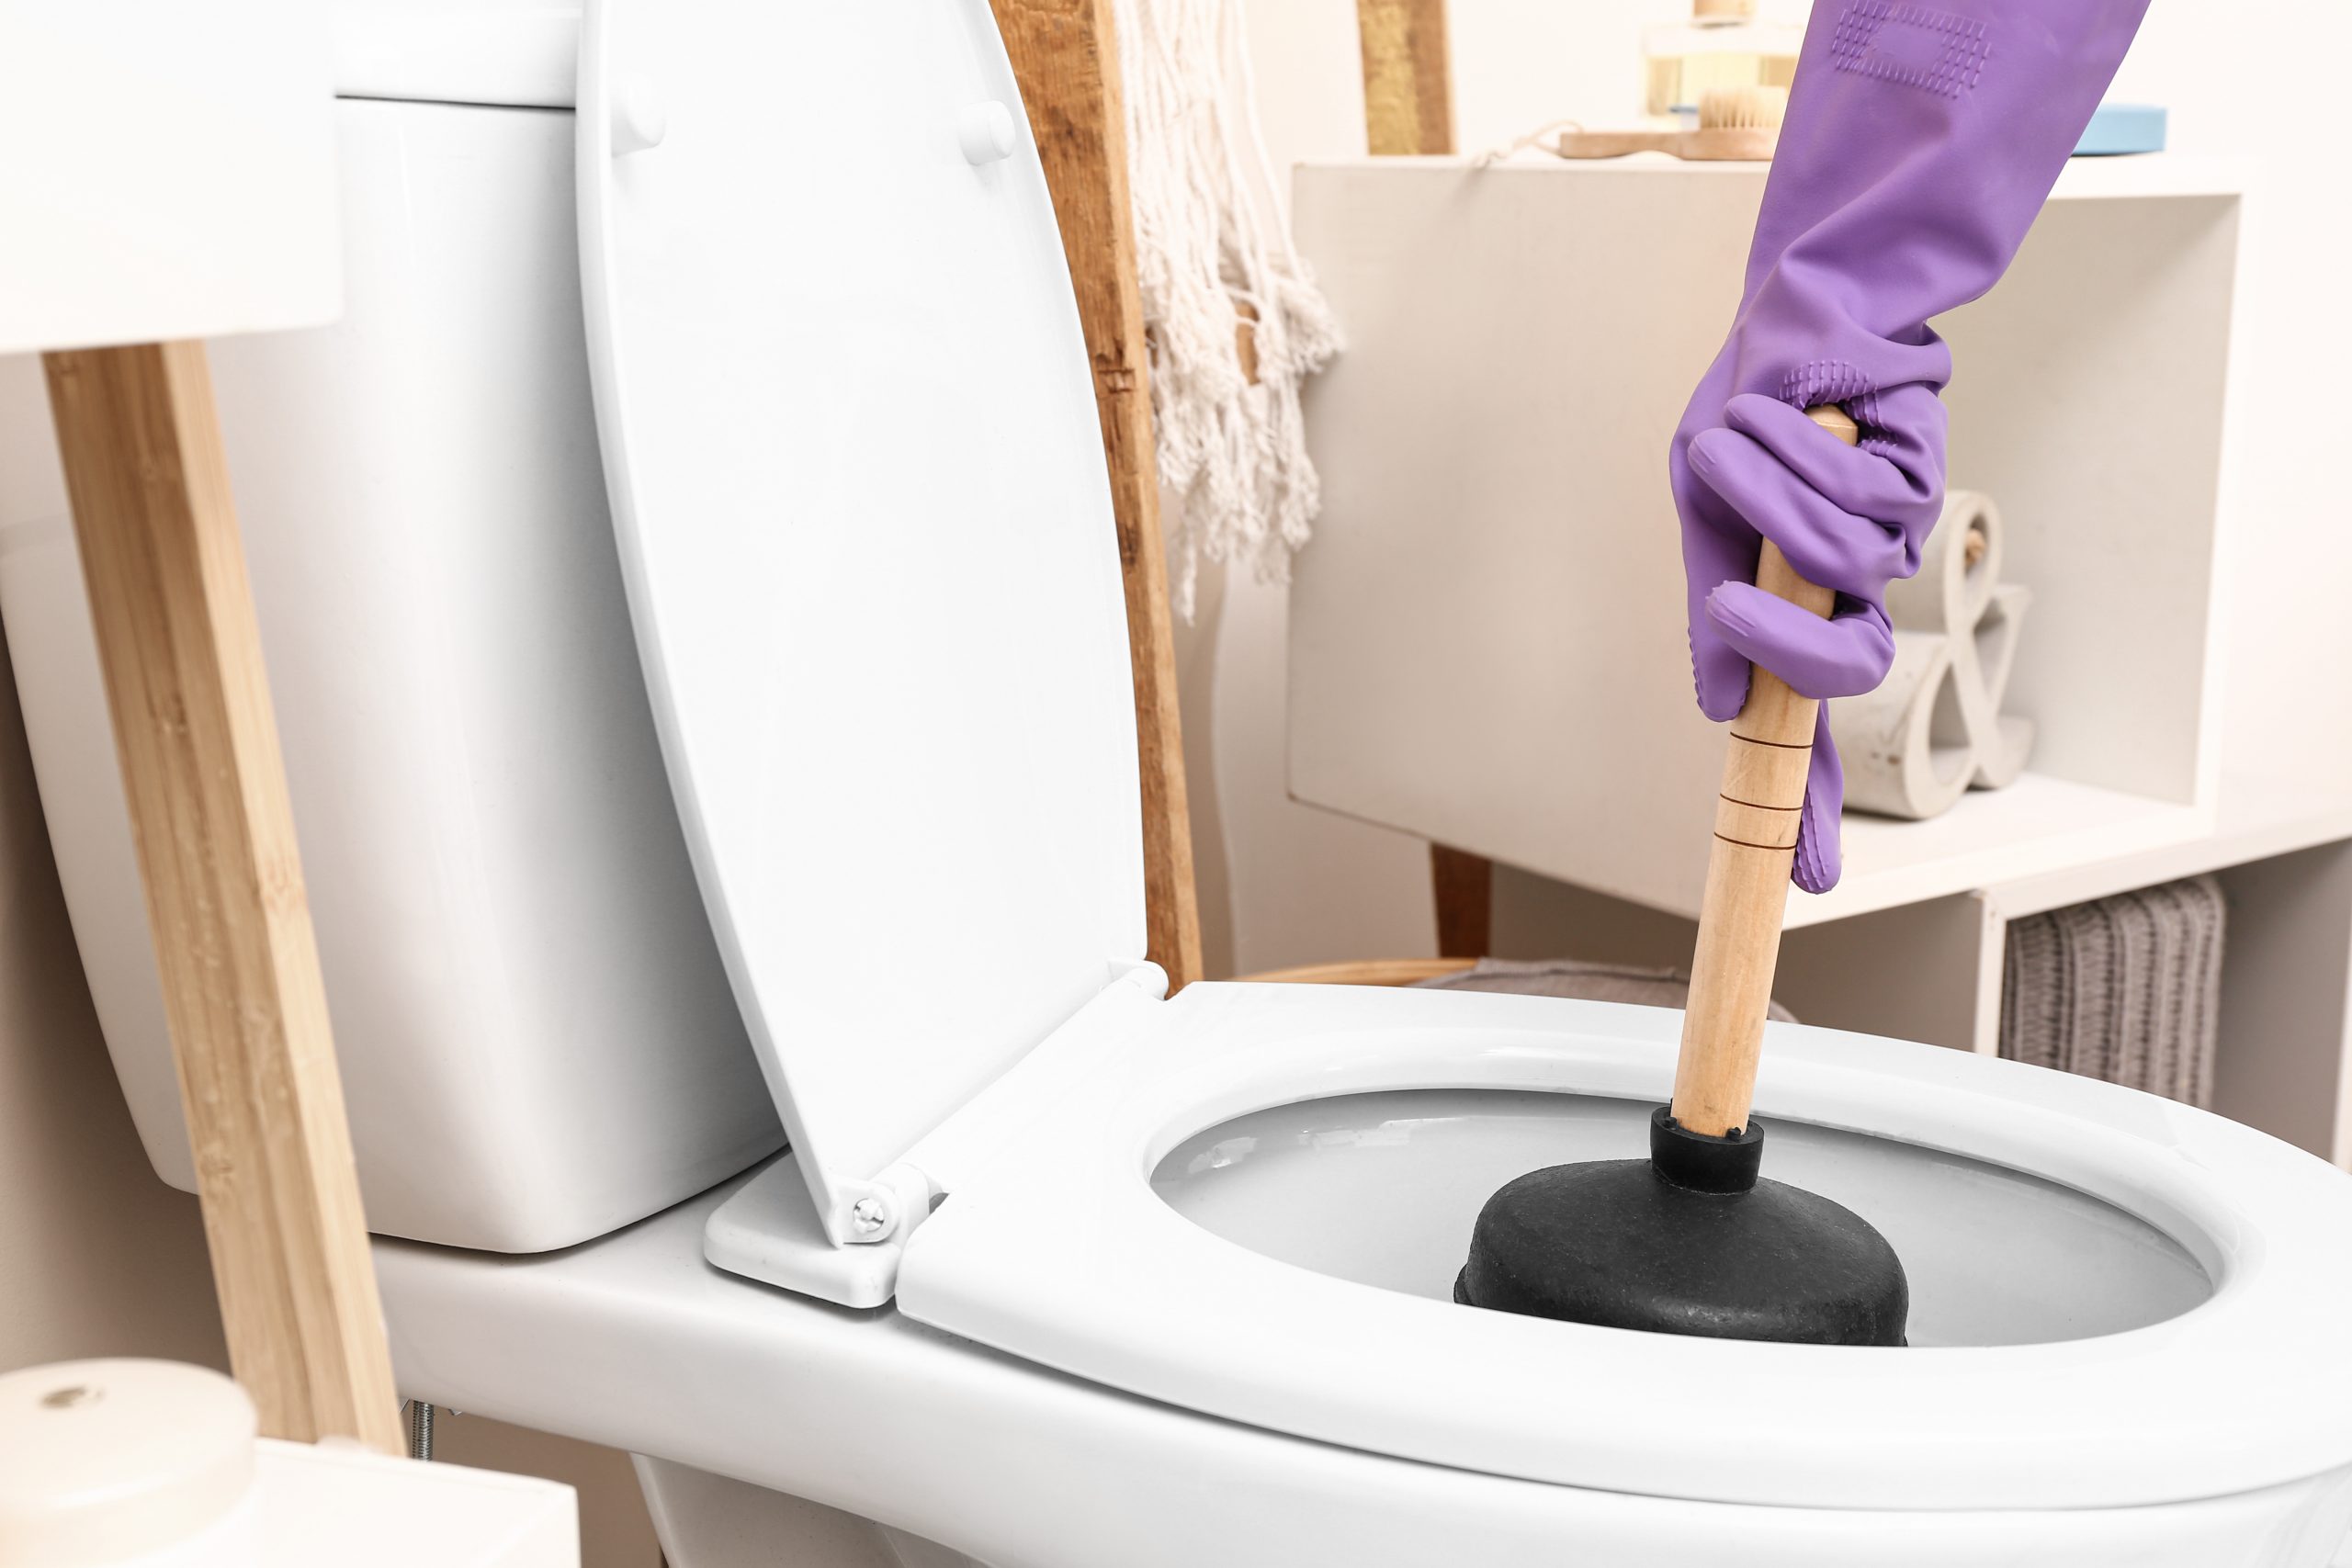
We’ve all been there: you flush the toilet or drain the sink, and instead of the water disappearing, it starts to rise. Panic sets in, and you reach for the most trusted tool in your utility closet. But do you actually know how to use a plunger correctly?
While it seems simple, there is a specific technique to plunging that makes the difference between a quick fix and a messy disaster. At Robillard Plumbing, we want to help you handle the small stuff safely. Here is your master class in effective plunging.
Step 1: Choose the Right Plunger
Believe it or not, different plungers are designed for different tasks. Using the wrong one is the most common reason homeowners fail to clear a clog.
- The Cup Plunger: This is the classic “red rubber” plunger with a flat bottom. It is designed for flat surfaces, like sinks, bathtubs, and showers. It does not work well on toilets because it cannot create a proper seal.
- The Flange (Toilet) Plunger: This plunger has a fold-out rubber flap (the flange) at the bottom. This flap is designed to fit perfectly into the curved drain of a toilet bowl to create a powerful vacuum.
Step 2: Prepare the Area
Before you start, make sure you aren’t about to make a mess.
- Check the Water Level: For a plunger to work, the rubber cup needs to be submerged in water. If the sink or toilet is empty, add enough water to cover the plunger head. If it’s overflowing, bail some out into a bucket.
- Protect the Floor: Lay down some towels or newspaper around the base of the fixture to catch any splashes.
Step 3: Create the Seal
This is the most important part of learning how to use a plunger.
- Place the plunger into the drain at an angle to allow air to escape from the cup (trapping air inside compresses it, which weakens the pressure).
- Press down firmly but slowly to ensure the rubber is sealed tight against the drain opening. If you’re plunging a sink, use a wet rag to plug the “overflow” hole—otherwise, the air pressure will just escape out of that hole instead of pushing against the clog.
Step 4: The Plunging Motion
Many people think the “push” is what clears the clog, but it’s actually the pull.
- Push down to get the air out, then pull up sharply.
- Maintain the seal and continue a vigorous “push-and-pull” rhythm for about 15 to 20 seconds.
- The goal is to move the water back and forth, which loosens the obstruction until it breaks apart or moves down the line.
Step 5: Test the Result
After several cycles of plunging, pull the plunger away. If the water rushes down the drain, you’ve succeeded! If you’re clearing a toilet, give it one more flush to ensure everything is moving freely.
When the Plunger Isn’t Enough
If you’ve tried the steps above three or four times and the water still won’t budge, you likely have a more serious issue than a simple surface clog.
Stop plunging if:
- Water is backing up into other fixtures (like the shower when you flush).
- The water has a foul, sewage-like odor.
- You’ve used chemical drain cleaners (plunging can splash these dangerous chemicals onto your skin or eyes).
In these cases, you might be dealing with a main line blockage or a stubborn object that requires a professional drain snake.
Don’t let a stubborn drain ruin your day! If your DIY efforts aren’t working, contact the experts at Robillard Plumbing at (763) 424-5514. We have the professional tools to clear any clog, guaranteed.
Read More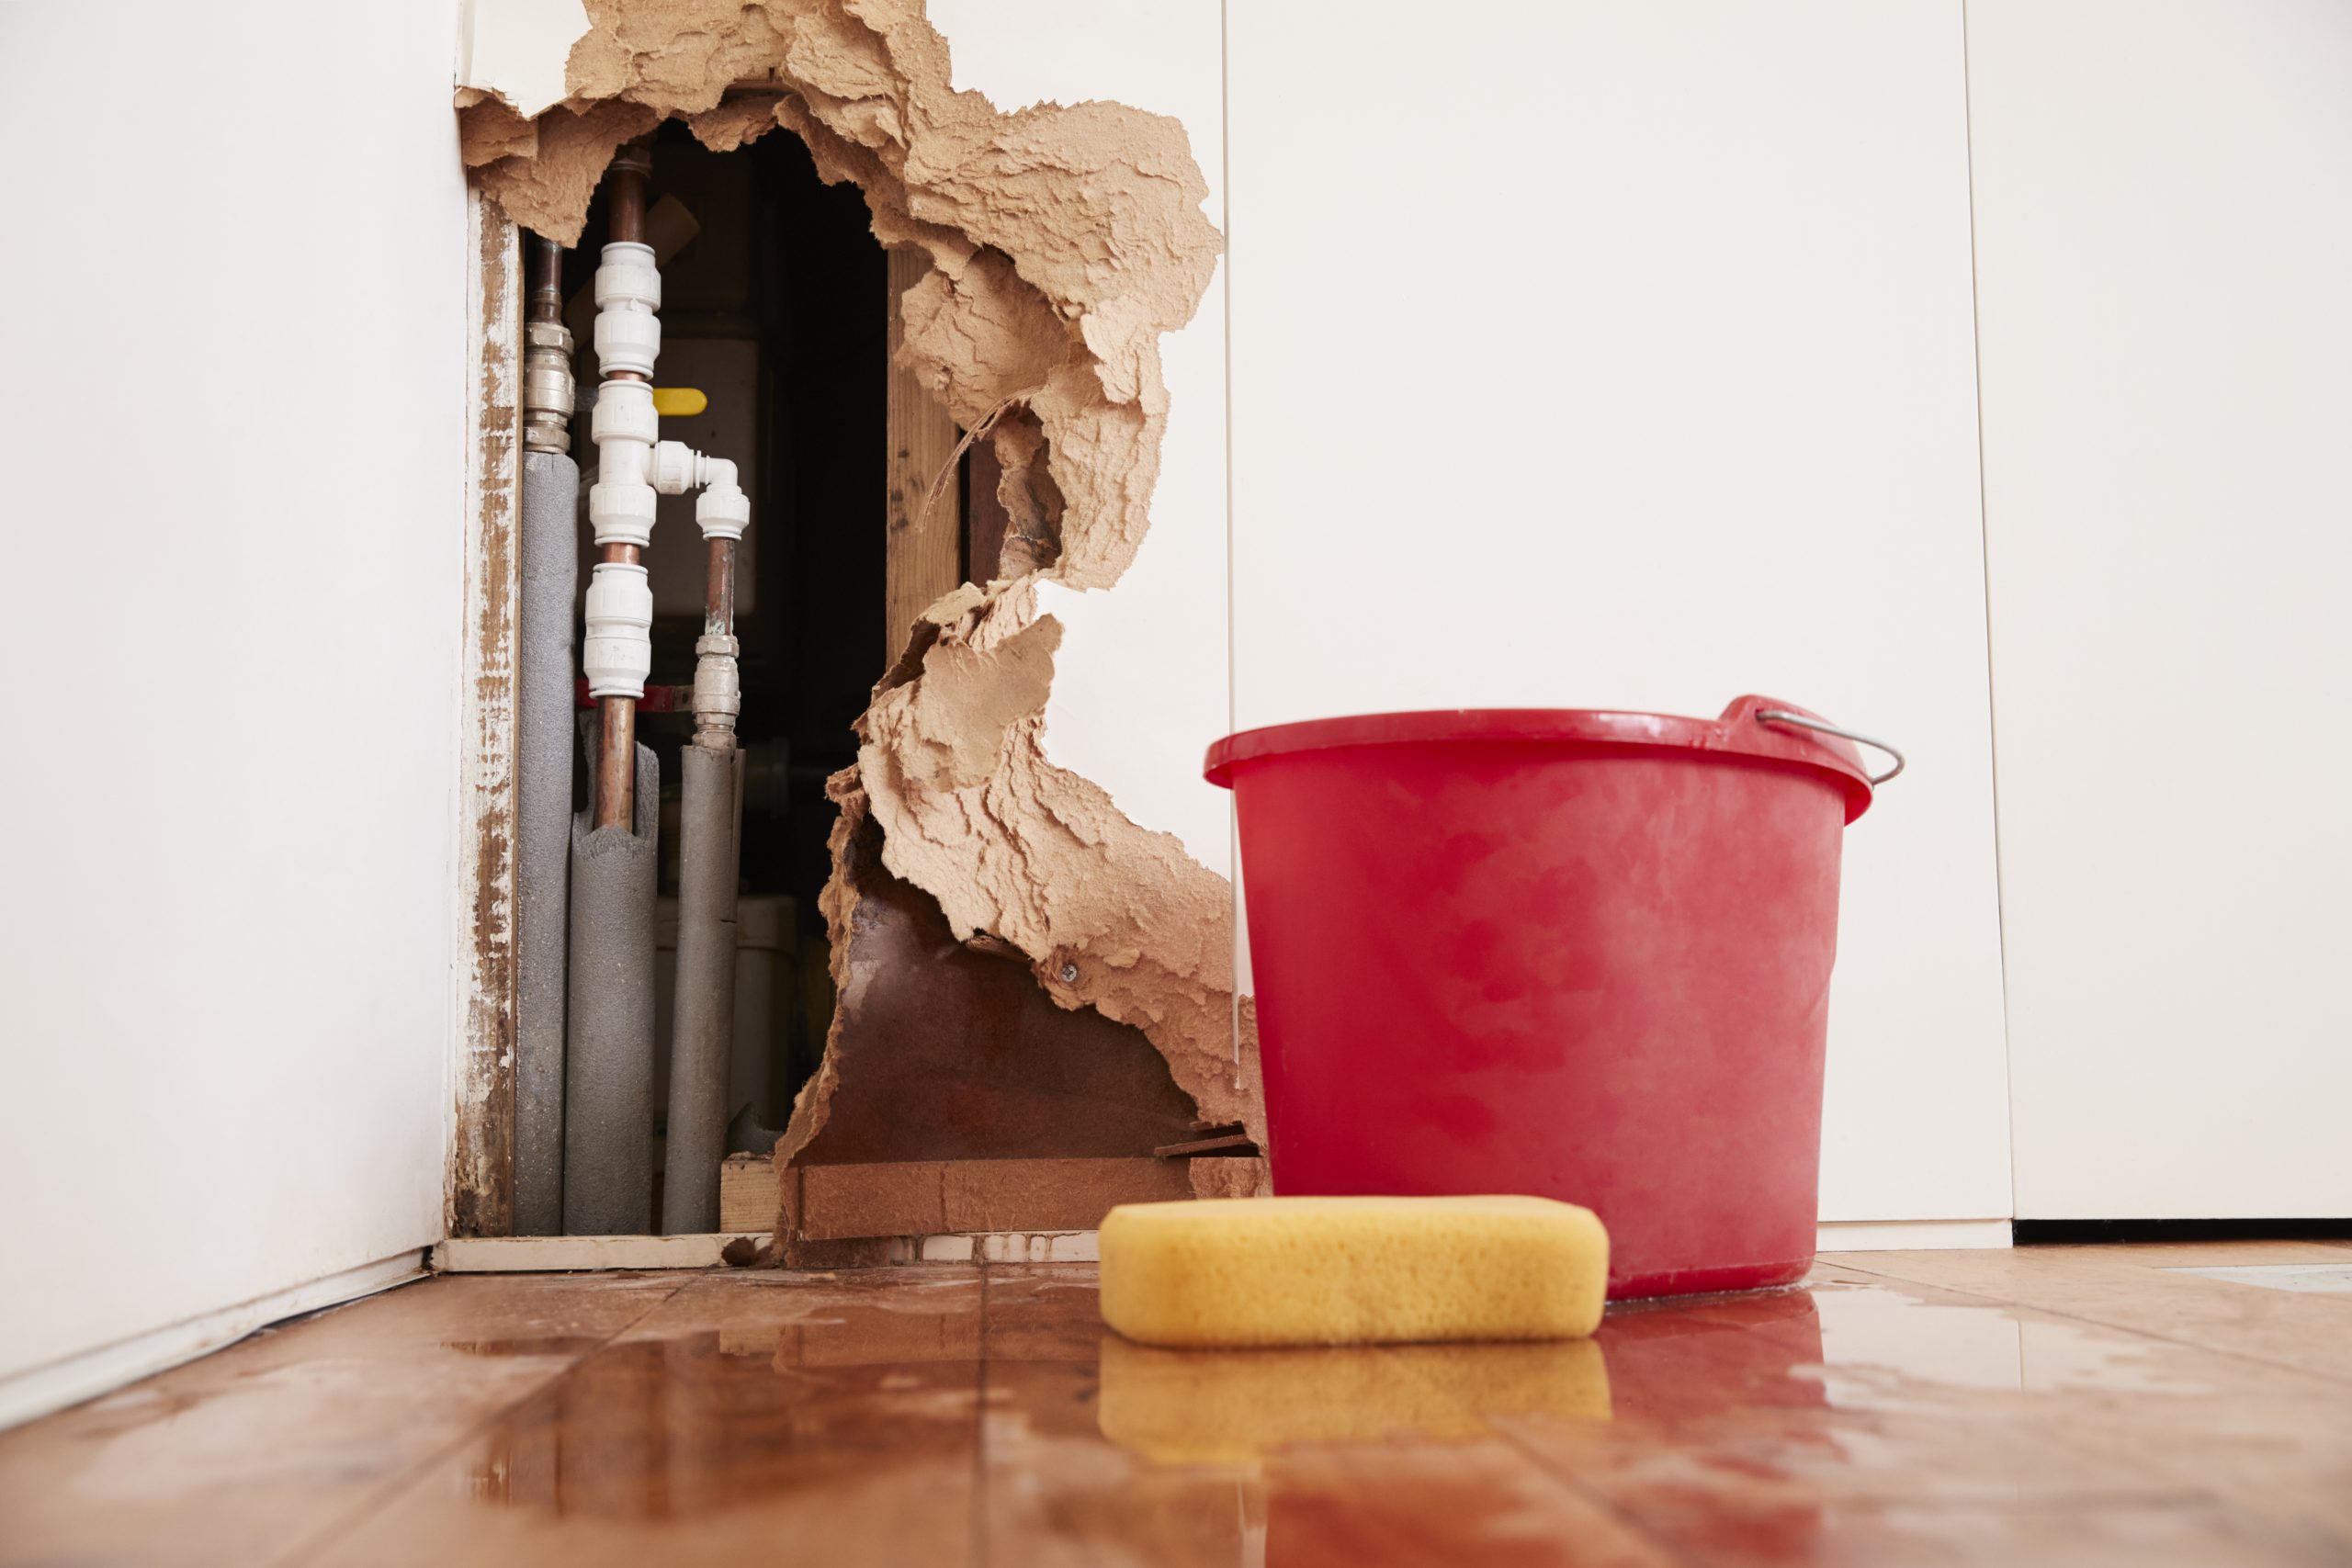
5 Tips for Water Damage Restoration
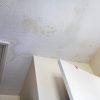
A leaking pipe, storm damage, burst sewage lines, flooding, and other unfortunate events typically lead to costly repairs due to water damage in your home. This will probably cause you a great deal of stress, but there is no need to panic. We have gathered 5 tips for water damage restoration that should be beneficial for you as a homeowner. Continue reading our blog for these helpful tips.
Where to look for damage from water
First things first, you should know which locations to inspect for water damage in your home. Here are some of the more common places:
- Around home appliances
- Pipes
- Insulation
- Drywall
- Your HVAC system
- Floor coverings
Discover the source of the damage
When looking for the source of the water damage in your home, it is important to know that water damage is divided into three different categories.
Category 1: Water damage or clean water damage is the least severe of the three. This type of water damage is caused by a broken pipe, appliance issues, or an overflowing bathtub.
Category 2: Water damage or grey water damage is when the water from your toilet, washing machine, or sump pump has backed up.
Category 3: Water damage or black water damage is the most severe of the three categories. Black water damage will include sewage, rising flood waters, and many other materials that will need to be removed.
Know where to shut off your main water supply
It is important as a homeowner that you know where your main water supply is and that you know how to shut it off. In a water emergency, you should immediately cut off the water supply in your home. Otherwise, the water may spread to different areas and cause more damage.
Clean and sanitize
Cleaning and sanitizing your home are probably the most important tips when restoring water damage. You need to get the affected area or areas as dry as possible. That means mopping and using towels, dehumidifiers, and fans to help eliminate excess moisture. If possible, leave windows and doors open to get a natural air flow to help dry out your home. When sanitizing the different areas, use bleach or an alternative cleaning product to help eliminate potential mold growth or hazardous materials left from the water damage.
Contact Robillard Plumbing
The last of our 5 tips for water damage restoration is to contact Robillard Plumbing and tell us about your situation. We will arrive at the scene as soon as possible. Our trusted professionals will get your water supply squared away and inspect your home to ensure that it is safe. We will then guide you through the flood restoration process and provide peace of mind. Contact us today!
Read More