

Category: Plumbing Tips
How to Use a Plunger Like a Pro: The Ultimate Drain-Clearing Guide
We’ve all been there: you flush the toilet or drain the sink, and instead of the water disappearing, it starts to rise. Panic sets in, and you reach for the most trusted tool in your utility closet. But do you actually know how to use a plunger correctly?
While it seems simple, there is a specific technique to plunging that makes the difference between a quick fix and a messy disaster. At Robillard Plumbing, we want to help you handle the small stuff safely. Here is your master class in effective plunging.
Step 1: Choose the Right Plunger
Believe it or not, different plungers are designed for different tasks. Using the wrong one is the most common reason homeowners fail to clear a clog.
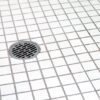
- The Cup Plunger: This is the classic “red rubber” plunger with a flat bottom. It is designed for flat surfaces, like sinks, bathtubs, and showers. It does not work well on toilets because it cannot create a proper seal.
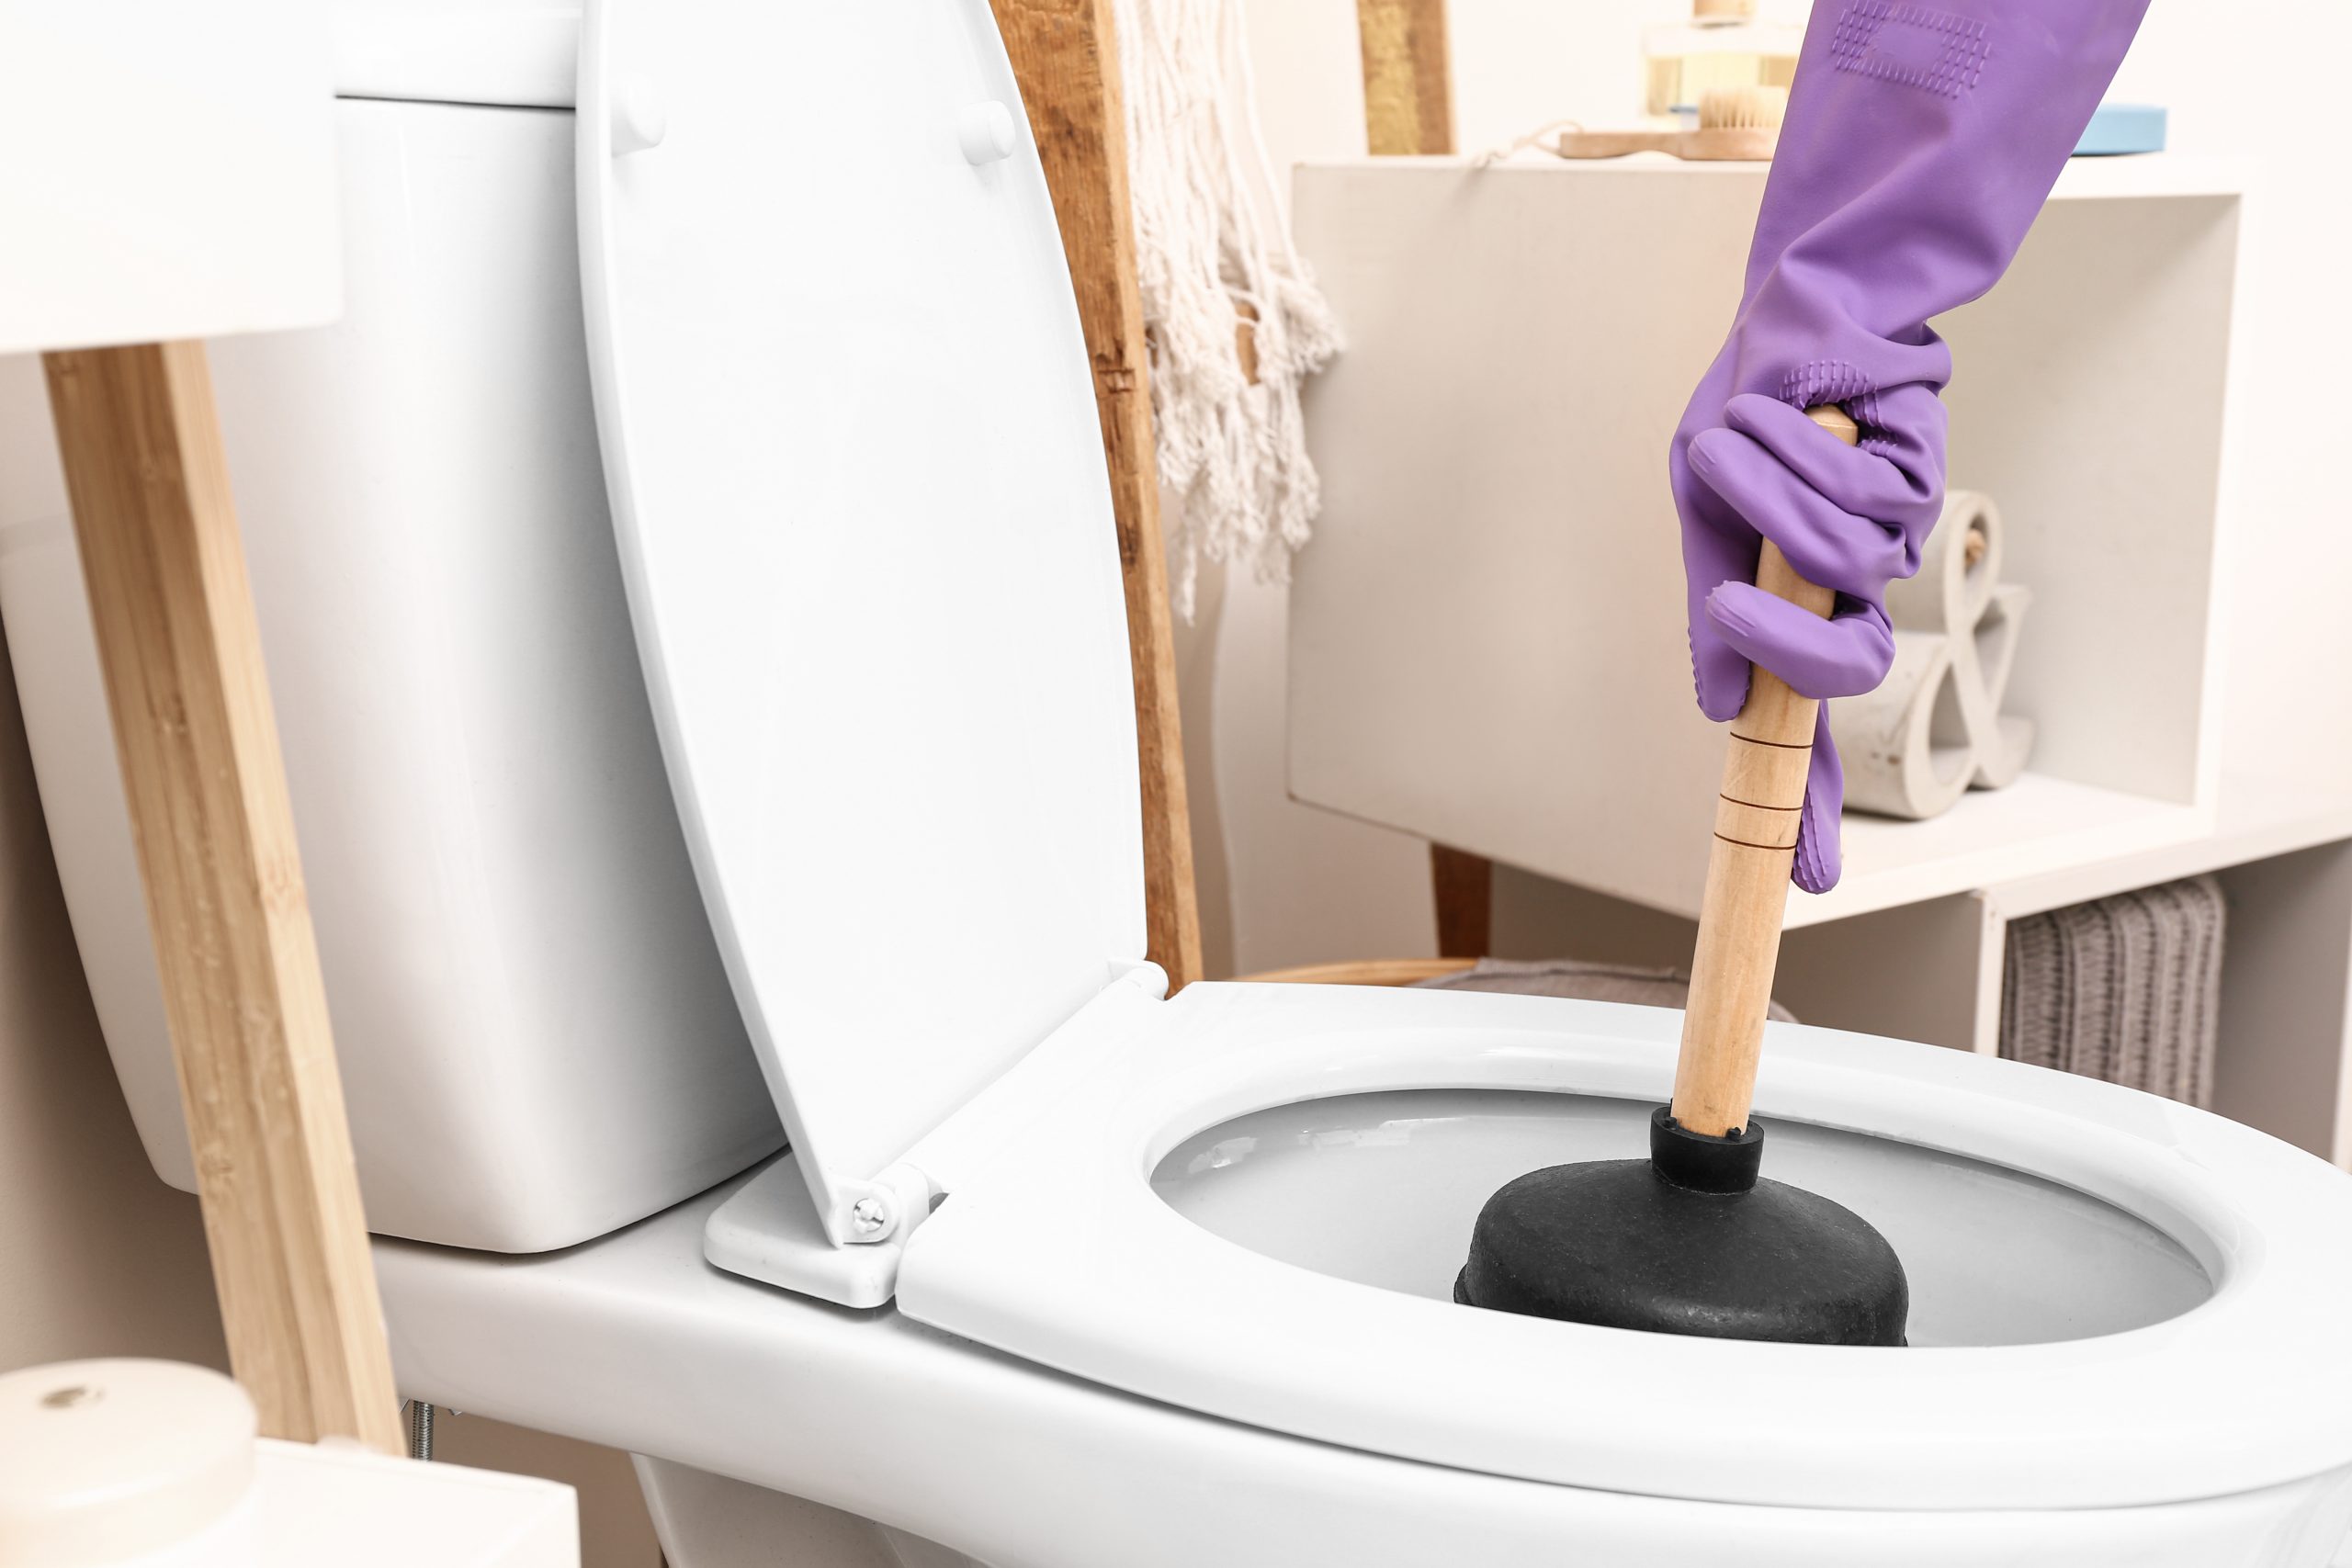
- The Flange (Toilet) Plunger: This plunger has a fold-out rubber flap (the flange) at the bottom. This flap is designed to fit perfectly into the curved drain of a toilet bowl to create a powerful vacuum.
Step 2: Prepare the Area
Before you start, make sure you aren’t about to make a mess.
- Check the Water Level: For a plunger to work, the rubber cup needs to be submerged in water. If the sink or toilet is empty, add enough water to cover the plunger head. If it’s overflowing, bail some out into a bucket.
- Protect the Floor: Lay down some towels or newspaper around the base of the fixture to catch any splashes.
Step 3: Create the Seal
This is the most important part of learning how to use a plunger.
- Place the plunger into the drain at an angle to allow air to escape from the cup (trapping air inside compresses it, which weakens the pressure).
- Press down firmly but slowly to ensure the rubber is sealed tight against the drain opening. If you’re plunging a sink, use a wet rag to plug the “overflow” hole—otherwise, the air pressure will just escape out of that hole instead of pushing against the clog.
Step 4: The Plunging Motion
Many people think the “push” is what clears the clog, but it’s actually the pull.
- Push down to get the air out, then pull up sharply.
- Maintain the seal and continue a vigorous “push-and-pull” rhythm for about 15 to 20 seconds.
- The goal is to move the water back and forth, which loosens the obstruction until it breaks apart or moves down the line.
Step 5: Test the Result
After several cycles of plunging, pull the plunger away. If the water rushes down the drain, you’ve succeeded! If you’re clearing a toilet, give it one more flush to ensure everything is moving freely.
When the Plunger Isn’t Enough
If you’ve tried the steps above three or four times and the water still won’t budge, you likely have a more serious issue than a simple surface clog.
Stop plunging if:
- Water is backing up into other fixtures (like the shower when you flush).
- The water has a foul, sewage-like odor.
- You’ve used chemical drain cleaners (plunging can splash these dangerous chemicals onto your skin or eyes).
In these cases, you might be dealing with a main line blockage or a stubborn object that requires a professional drain snake.
Don’t let a stubborn drain ruin your day! If your DIY efforts aren’t working, contact the experts at Robillard Plumbing at (763) 424-5514. We have the professional tools to clear any clog, guaranteed.
Read More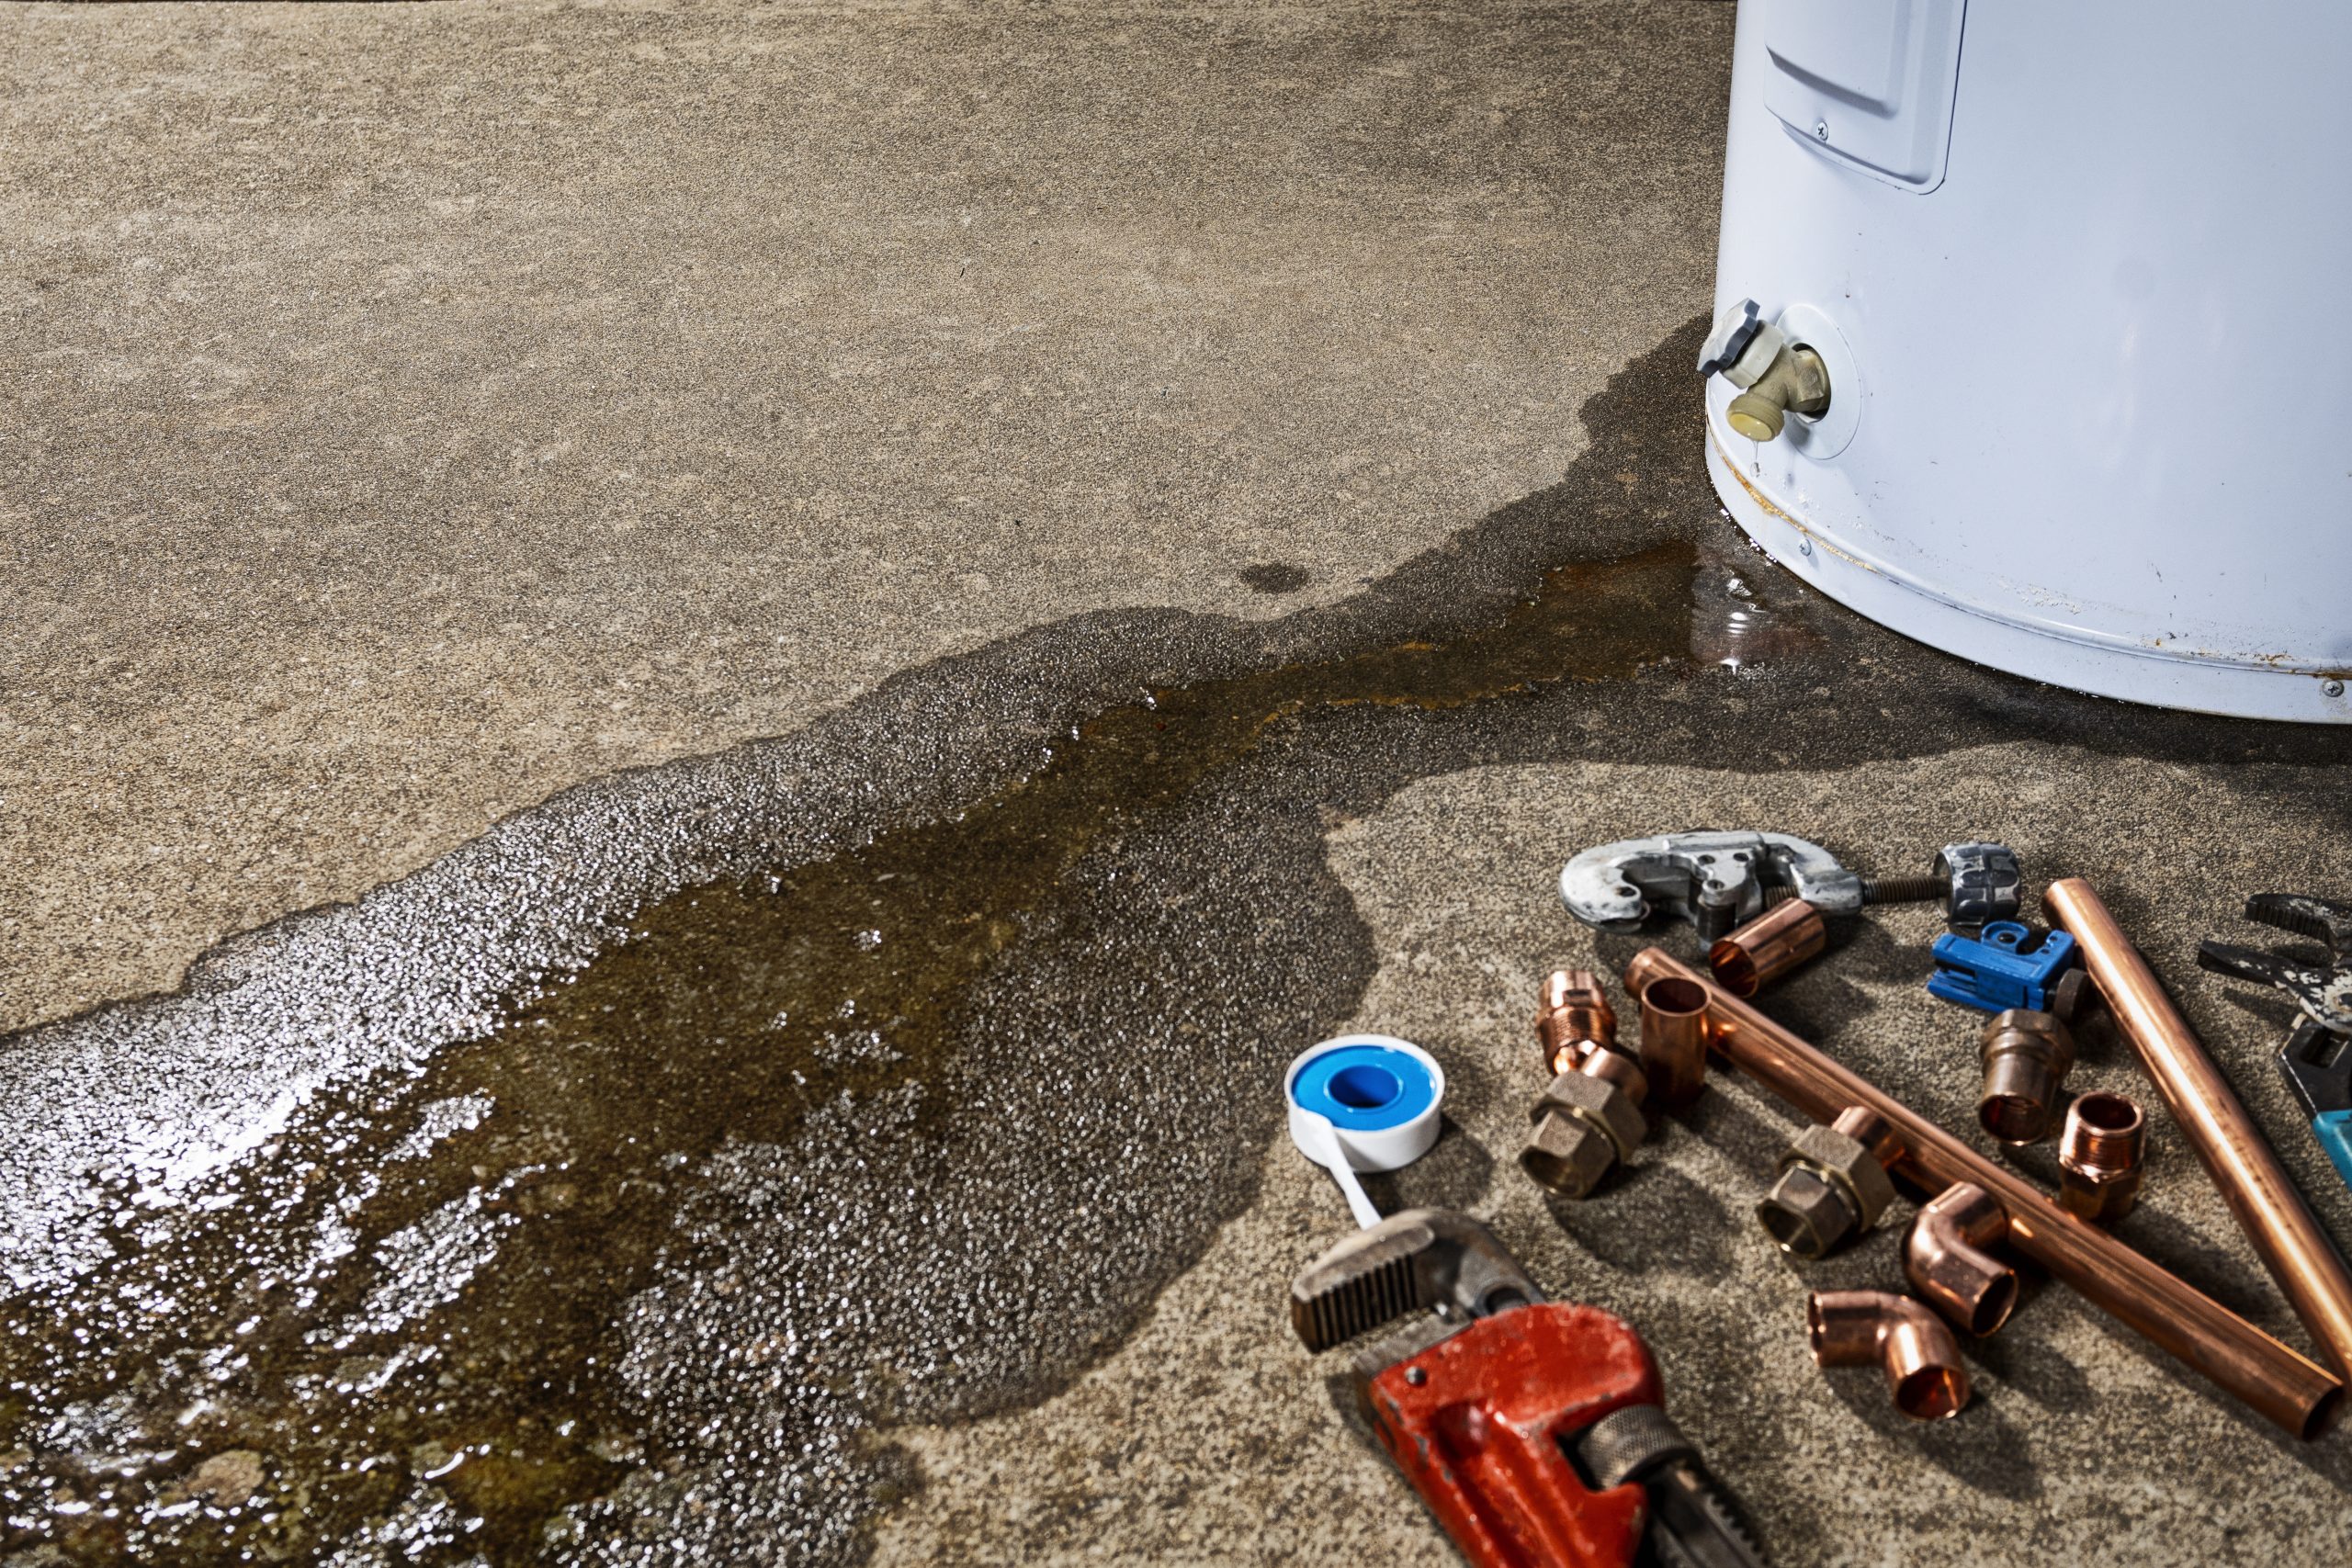
Water Heater Maintenance: The Ultimate Homeowner’s Guide
In the northwest metro, we rely on our water heaters for everything from sanitizing dishes to enjoying a hot shower after a long day in the Minnesota cold. Yet, because these units are tucked away in basements or utility closets, they are often “out of sight, out of mind”—until the water turns cold.
Proper water heater maintenance is the key to extending the life of your unit, lowering your energy bills, and preventing the mess of a leaking tank. This guide will walk you through everything you need to know to keep your hot water flowing reliably for years to come.
How a Water Heater Works
Most homes in our area use a traditional tank-style water heater. Here is a simplified look at the process:
- Cold Water Entry: Cold water enters the tank through a “dip tube,” which directs it to the bottom of the tank.
- Heating: Depending on your model, either a gas burner (at the bottom) or electric heating elements (inside the tank) heat the water.
- Thermostat Control: A thermostat monitors the temperature. When the water cools down, the heater kicks on; once it reaches the set temperature, it shuts off.
- Heat Rise: Because heat rises, the hottest water stays at the top of the tank, ready to be sent to your faucets when you turn on the tap.
- Protection: To prevent the steel tank from rusting, an anode rod hangs inside the water. This sacrificial rod attracts corrosive elements in the water, preventing them from eating away at the sides of your tank.
Signs Your Water Heater Needs Maintenance
Your water heater will often tell you it’s struggling before it fails completely. Watch for these red flags:
- Strange Noises: If you hear popping, banging, or “kettling” sounds, it’s usually caused by sediment buildup at the bottom. This makes the unit work harder and can eventually damage the tank.
- Discolored Water: Rusty or “tea-colored” water can indicate that your anode rod has failed and the inside of your tank is beginning to corrode.
- Fluctuating Temperatures: If your showers are getting shorter or the water never seems to get as hot as it used to, your heating elements or gas burner may be failing.
- Slow Leaks or Dampness: Check the base of the tank and the pipe connections. Even a tiny “weeping” leak can quickly turn into a basement-flooding disaster.
- Age: Most tank-style water heaters last 8 to 12 years. If yours is in double digits, it needs professional eyes on it annually.
Easy DIY Water Heater Maintenance Tips
While the complex mechanical parts should be left to a master plumber, there are a few water heater maintenance tasks you can do to keep your unit running efficiently:
1. Check the Temperature Settings
Check the thermostat on your water heater. We recommend setting it to 120 degrees Fahrenheit. This is hot enough for household needs but cool enough to prevent scalding and reduce the “idling” energy costs of the unit.
2. Clear the Perimeter
It’s easy for the area around the water heater to become a storage spot for holiday decorations or cleaning supplies. Ensure there is at least two feet of clearance around the unit for proper airflow (especially for gas models) and easy access for inspections.
3. Visual Inspections
Once a month, do a quick “walk-around.” Look for signs of heavy corrosion on the pipes, soot near the burner (for gas units), or any moisture on the floor. Early detection is the best way to avoid emergency repair costs.
When to Call a Professional Plumber for Water Heater Maintenance
While DIY checks are great, some water heater maintenance tasks require the tools and expertise of a licensed professional. You should call Robillard Plumbing for an annual service visit to handle the following:
- Anode Rod Replacement: This is the single most important maintenance task. We inspect the rod and replace it if it’s depleted, which can literally double the lifespan of your tank.
- T&P Valve Testing: The Temperature and Pressure (T&P) relief valve is a critical safety feature. We test it to ensure that if your tank ever overheats, the valve will open to prevent a dangerous pressure buildup.
- Burner and Venting Inspection: For gas water heaters, we ensure the burner is clean and the exhaust is venting safely out of your home to prevent carbon monoxide risks.
- Electrical Component Testing: For electric models, we test the upper and lower heating elements to ensure they are drawing the correct voltage and heating efficiently.
Schedule Your Water Heater Protection Today
Don’t wait for a leak or a cold shower to think about your water heater. Proactive water heater maintenance is the best way to protect your home and your wallet.
If you haven’t had a professional look at your water heater in the last 12 months, contact the experts at Robillard Plumbing today at (763) 424-5514!
Read More